GDT Tonya here today to share with you a great shaker card using a Samantha Walker's Silhouette file.
I have been bitten by the Christmas bug and have been making Christmas cards for weeks and weeks already.
When the file is opened, it is fit for a 12 x 12 sheet.
My plan was to use the file as a printed background for a shaker card. So I modified it.
The first thing I did was ungroup the pieces. I used the file color option in the software and colored the candy swirls red, since I was using a white card base. Once colored I moved the swirls to fit on the 'wrapper'.

The swirls were not lined up the way I wanted. To correct that, I highlighted the swirls and rotated them until they lined up with the red meeting the wrapper ends.
I wanted the outline of the wrapper to be a charcoal tone. To do this, I clicked the line color option and chose the correct level of gray tone. 

Since peppermint candy wrappers are clear, I chose a lighter gray so that they appeared to be slightly transparent on the background.
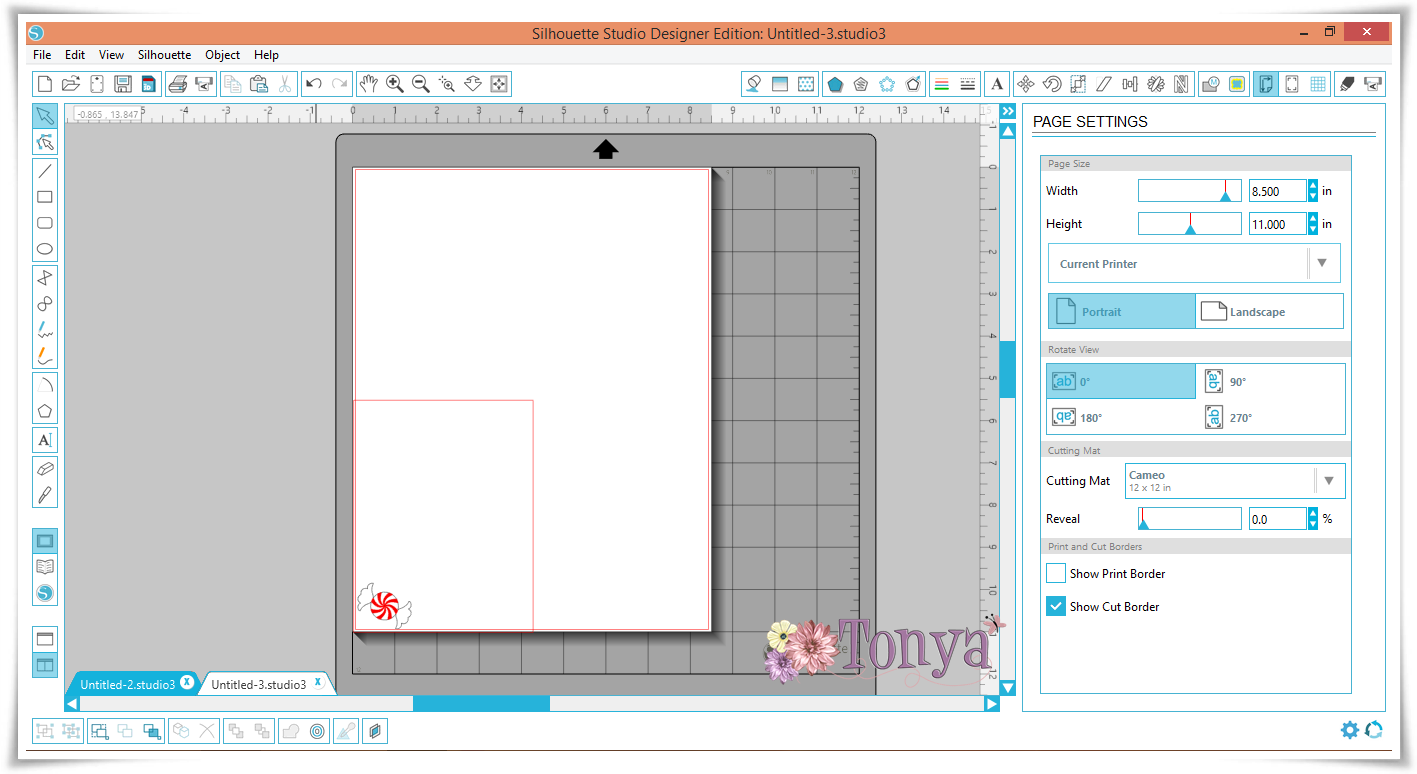
Next I drew a rectangle and sized it to 4.25 x 5.5 inches. This represented the base of my A2 size card.
The cardstock I used was 8 1/2 x 11 inches. To make things easier (visually), I changed the page settings to fit. Also, to represent printing, I positioned the page in portrait. 

Next I moved the rectangle I drew to fit the bottom left corner of the page.
The peppermint candies were sized and replicated to fit my pattern.
I intentionally left a bit of space between the candies in the upper center for a sentiment to be stamped.
When using a cut file for a print design, it is very important to be sure you have the print lines selected.
 The option to do this is under the line style icon. Since I did not want the rectangle to print as I only used it as a reference, I did not select those lines.
When I had everything where I wanted it, I sent it to the printer. I used my paper trimmer to cut the cardstock to 4.25 x 11 inches, then scored at 5.5 inches to created my card base.
For the front of the shaker, I just used my reference rectangle and created a few offsets for the layers.
I glued the two pieces together and added two layers of foam tape to create my shaker front.
I used Doodlebug Designs Sequins to fill the shaker.
(inside of card)
I added clear Wink of Stella to the white frame.
Supplies:
Papertrey Ink Cardstock
Papertrey Ink Cube
Foam Tape
Dooblebug Sequins
Wink of Stella Brush Pen
Printer


love love love
ReplyDelete